Step Down to Carry On Part 3: Let it Go!
The Tortuga Promise
At Tortuga, our mission is to make travel easier. Our advice and recommendations are based on years of travel experience. We only recommend products that we use on our own travels.
Table of Contents
To stop checking your bags and travel with only a
If you’re an over packer, reaching your goal of packing light will be a process. There will be some trial and error, practice, and learning. Aim to cut back on your packing bit by bit.
This article is the final installment of the Step Down to
First, a quick review of the steps we’ve already taken:
|
4.7
|
4.5
|
4.7
|
Getting From 2 Checked Bags to 1 Checked Bag
In our first segment, max packer to moderate checker, we took you from checking two large suitcases to just one. To do this, we:
- Swapped out our bags for a large
carry on and an expandable checked suitcase - Limited our just in case items
- Maximized the usefulness of what we bring
- Packed two days in advance
- Organized our bags with packing cubes and vacuum seal bags
Checking an Even Smaller Bag
In the second segment, we worked on how to check a smaller bag and showed you how to get that one large suitcase down to a more manageable piece of luggage. To do this we:
- Got an even smaller bag, aiming to travel with two
carry on sized pieces of luggage (even though we’d check one) - Packed our one personal item in our bags while traveling
- Used packing lists to help narrow down what to pack
- Packed for fewer days than we’re traveling
- Organized our bags and converted to travel size items whenever possible
If you’ve already followed all of these steps, you are ready for the next and final step. You’re ready to step down to
Step 1: Change Your Bags (Again!)
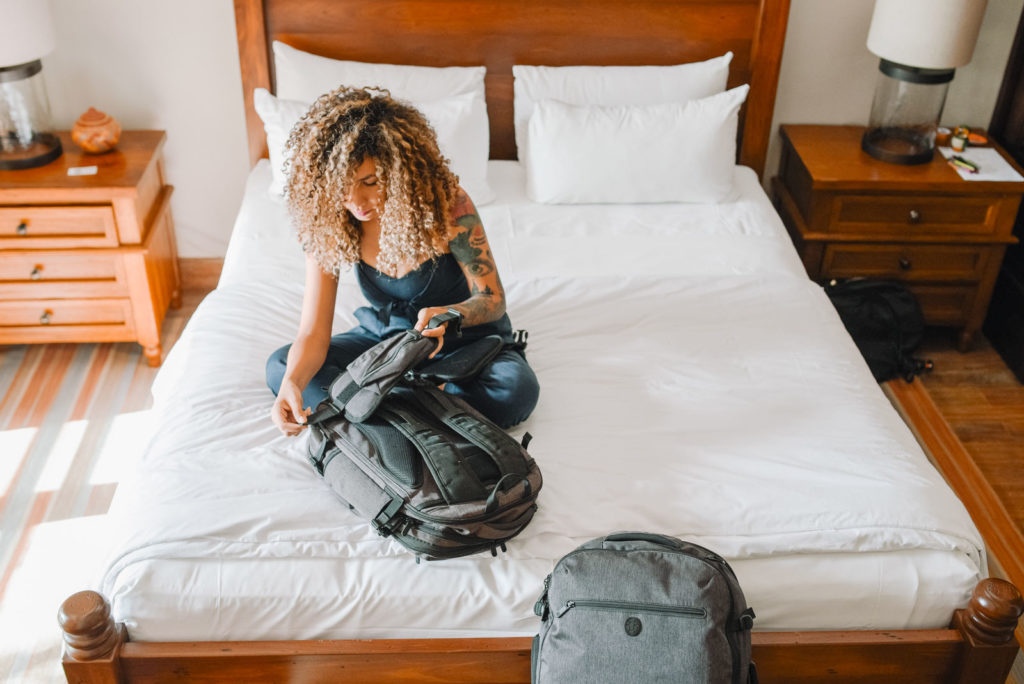
If you’ve been following along, you should already have the bag you want to use for this carry-on-only trip. In the last article, you would have been traveling with two carry-on-sized bags (just checking one). So, for this trip, grab:
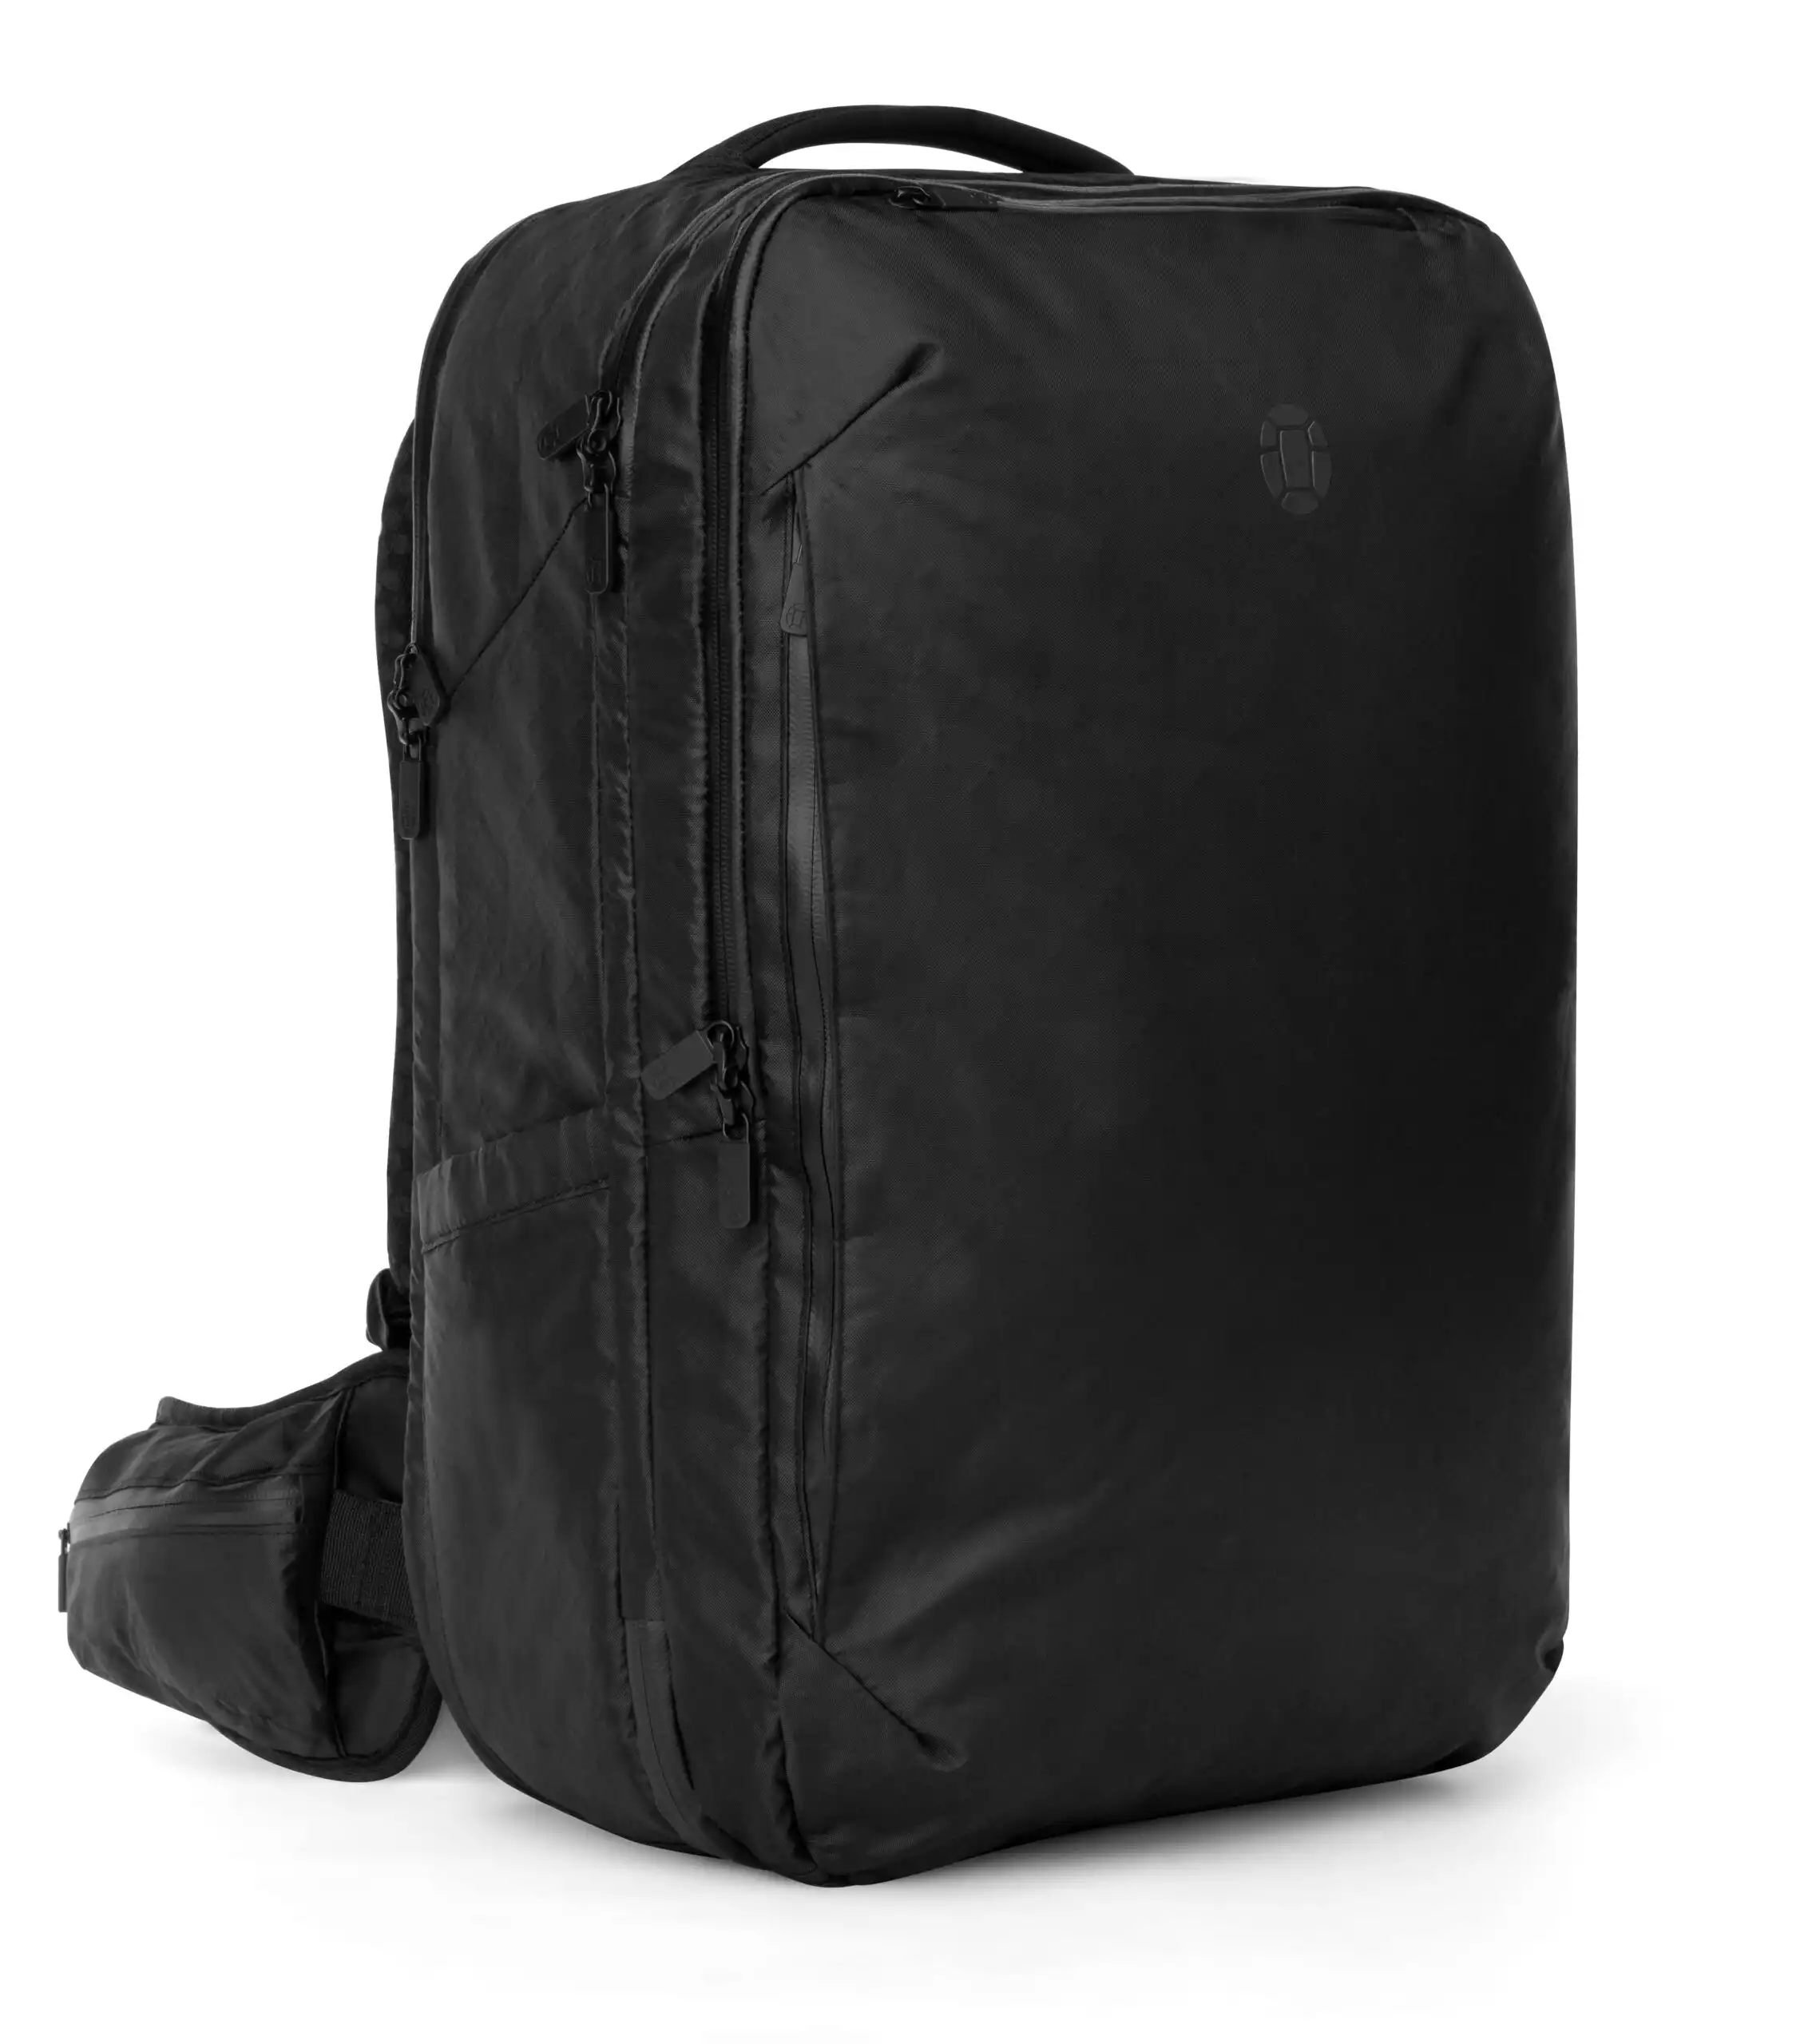
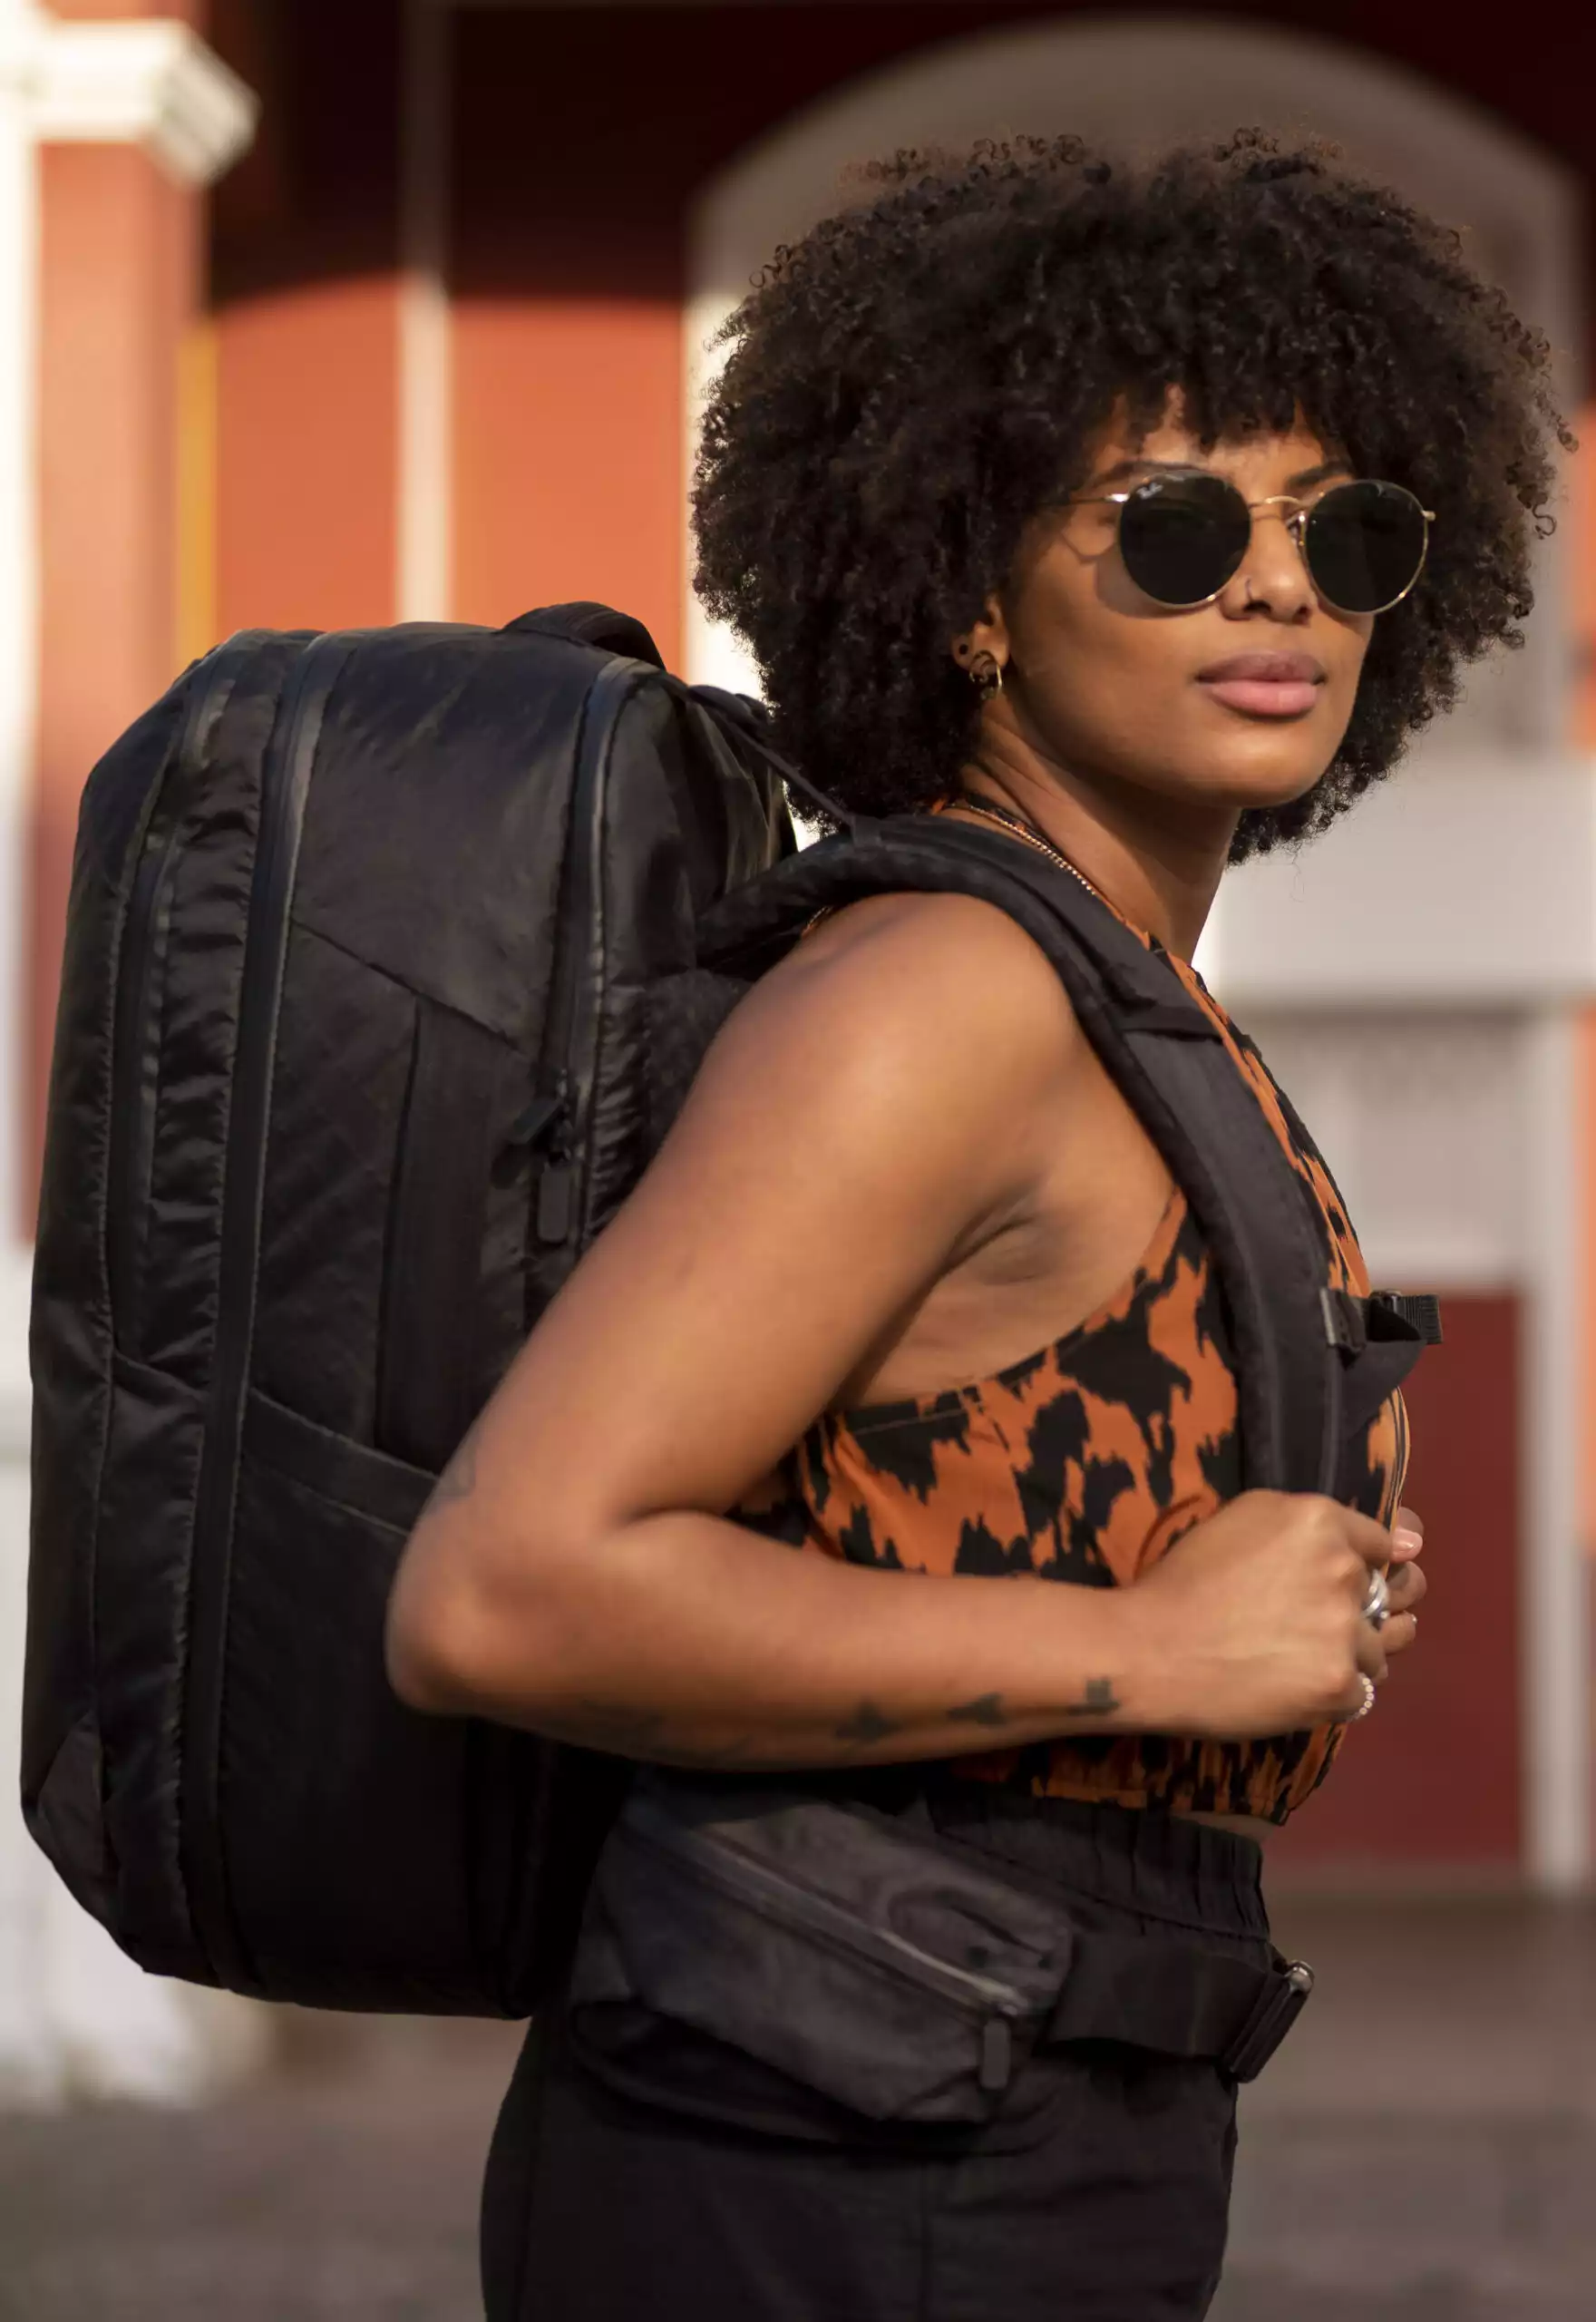
- Either the carry-on-sized backpack, duffle, or roller bag. Use whichever one you liked best. The Outbreaker Backpack is a great, TSA-friendly choice.
- A daypack, tote, or purse. Choose whichever one you’d prefer to walk around town with and opt for something the size of a daypack. Any of these bags will work as a personal item because they fit under the seat in front of you.
On crowded flights, you might be asked to check your bag at the gate, especially if it’s a roller bag. Fortunately, on most airlines, you shouldn’t have to pay anything for this service. Carrying a travel backpack makes it less likely that you’ll be selected to gate-check your bag.
Step 1.5: Get Familiar With Carry On Rules
This is an extension of Step 1, since it might change which pieces of luggage you decide to travel with. But, if you’re not familiar with them already, get familiar with carry on rules for luggage size and weight plus what you can and can’t bring on an airplane.

Step 2: Eliminate “Just in Case” Items
Except for some basic medicine and first-aid, try to travel with zero just in case items.
For each item you’re thinking of packing, ask yourself, “Will I use this?” If the answer is “No” or “Maybe,” don’t pack it. You’ll have to be able to give a confident, “Yes!” to allow yourself to bring the item.
Step 3: Go Travel Size for Everything
If you can make something smaller, make it smaller. Literally, every little thing could make a difference in getting your stuff to fit in a small bag over a medium sized bag.
- Toiletries are the obvious one. You’ll have to stick to three ounces or less now that you’re doing
carry on only. For some items, you can find even smaller versions. A one ounce vial of perfume, for example, can last weeks. - Water bottles are something I never travel without. I prefer to pack a flat bottle so it takes up very little room in my bag while I’m not using it.
- Yoga mats, if you like traveling with one, are bulky. Instead, opt for a travel yoga mat. Yoga by Candace has some good reviews of travel yoga mats to consider.
- Neck pillows are nice, but bulky. Grab an inflatable one that you can easily stow when you’re off the plane.
- Headphones… earbuds are the way to go.
- The iPad Mini is my preferred travel device. It works as an e-reader, laptop (with a keyboard attachment), and slips nicely into a small purse. Try to bring as few electronics as you can since these and their chargers can take up space and weight.
When possible, try to ditch cases and consolidate containers as well. When I travel for work, I bring my laptop instead of the iPad. I swapped out my bulky laptop case for a hard case, which makes it much easier to fit in the outer pocket of my backpack.

Step 4: Plan Activities in Advance
Personally, I tend to overpack when there are a dozen different activities that I want to do on a trip (all of which require their own special type of shoes, naturally) and feel like I need to bring my own personal equipment for each.
I took a few years to learn to stop traveling with my rock climbing harness, climbing shoes, hiking boots, a yoga mat, and sports gear for every other possible scenario. The change has helped me to reduce the amount of single-activity gear I bring by planning my activities in advance and becoming okay with renting equipment when necessary.
This is, of course, a little different if I’m planning a five-day trip somewhere just to rock climb, bike, hike, or do a yoga retreat. For an average trip, I push myself to leave my personal equipment at home. Instead, I’ll take a look at what the destination is most known for and choose one activity that I’d like to do the most. I usually choose hiking. For everything else, I’ll rent equipment from a tour outfitter once I’m there.
|
4.7
|
4.5
|
4.7
|
Step 5: Organize Your Bag for a Speedy Security Check
Organization is crucial while traveling. Not only will it help protect you against theft, but it can help save you time and keep you from overpacking. There’s no better example of this than the security line. Avoid being “that guy” holding everyone up by organizing your bag when you pack. Make sure you are ready with:
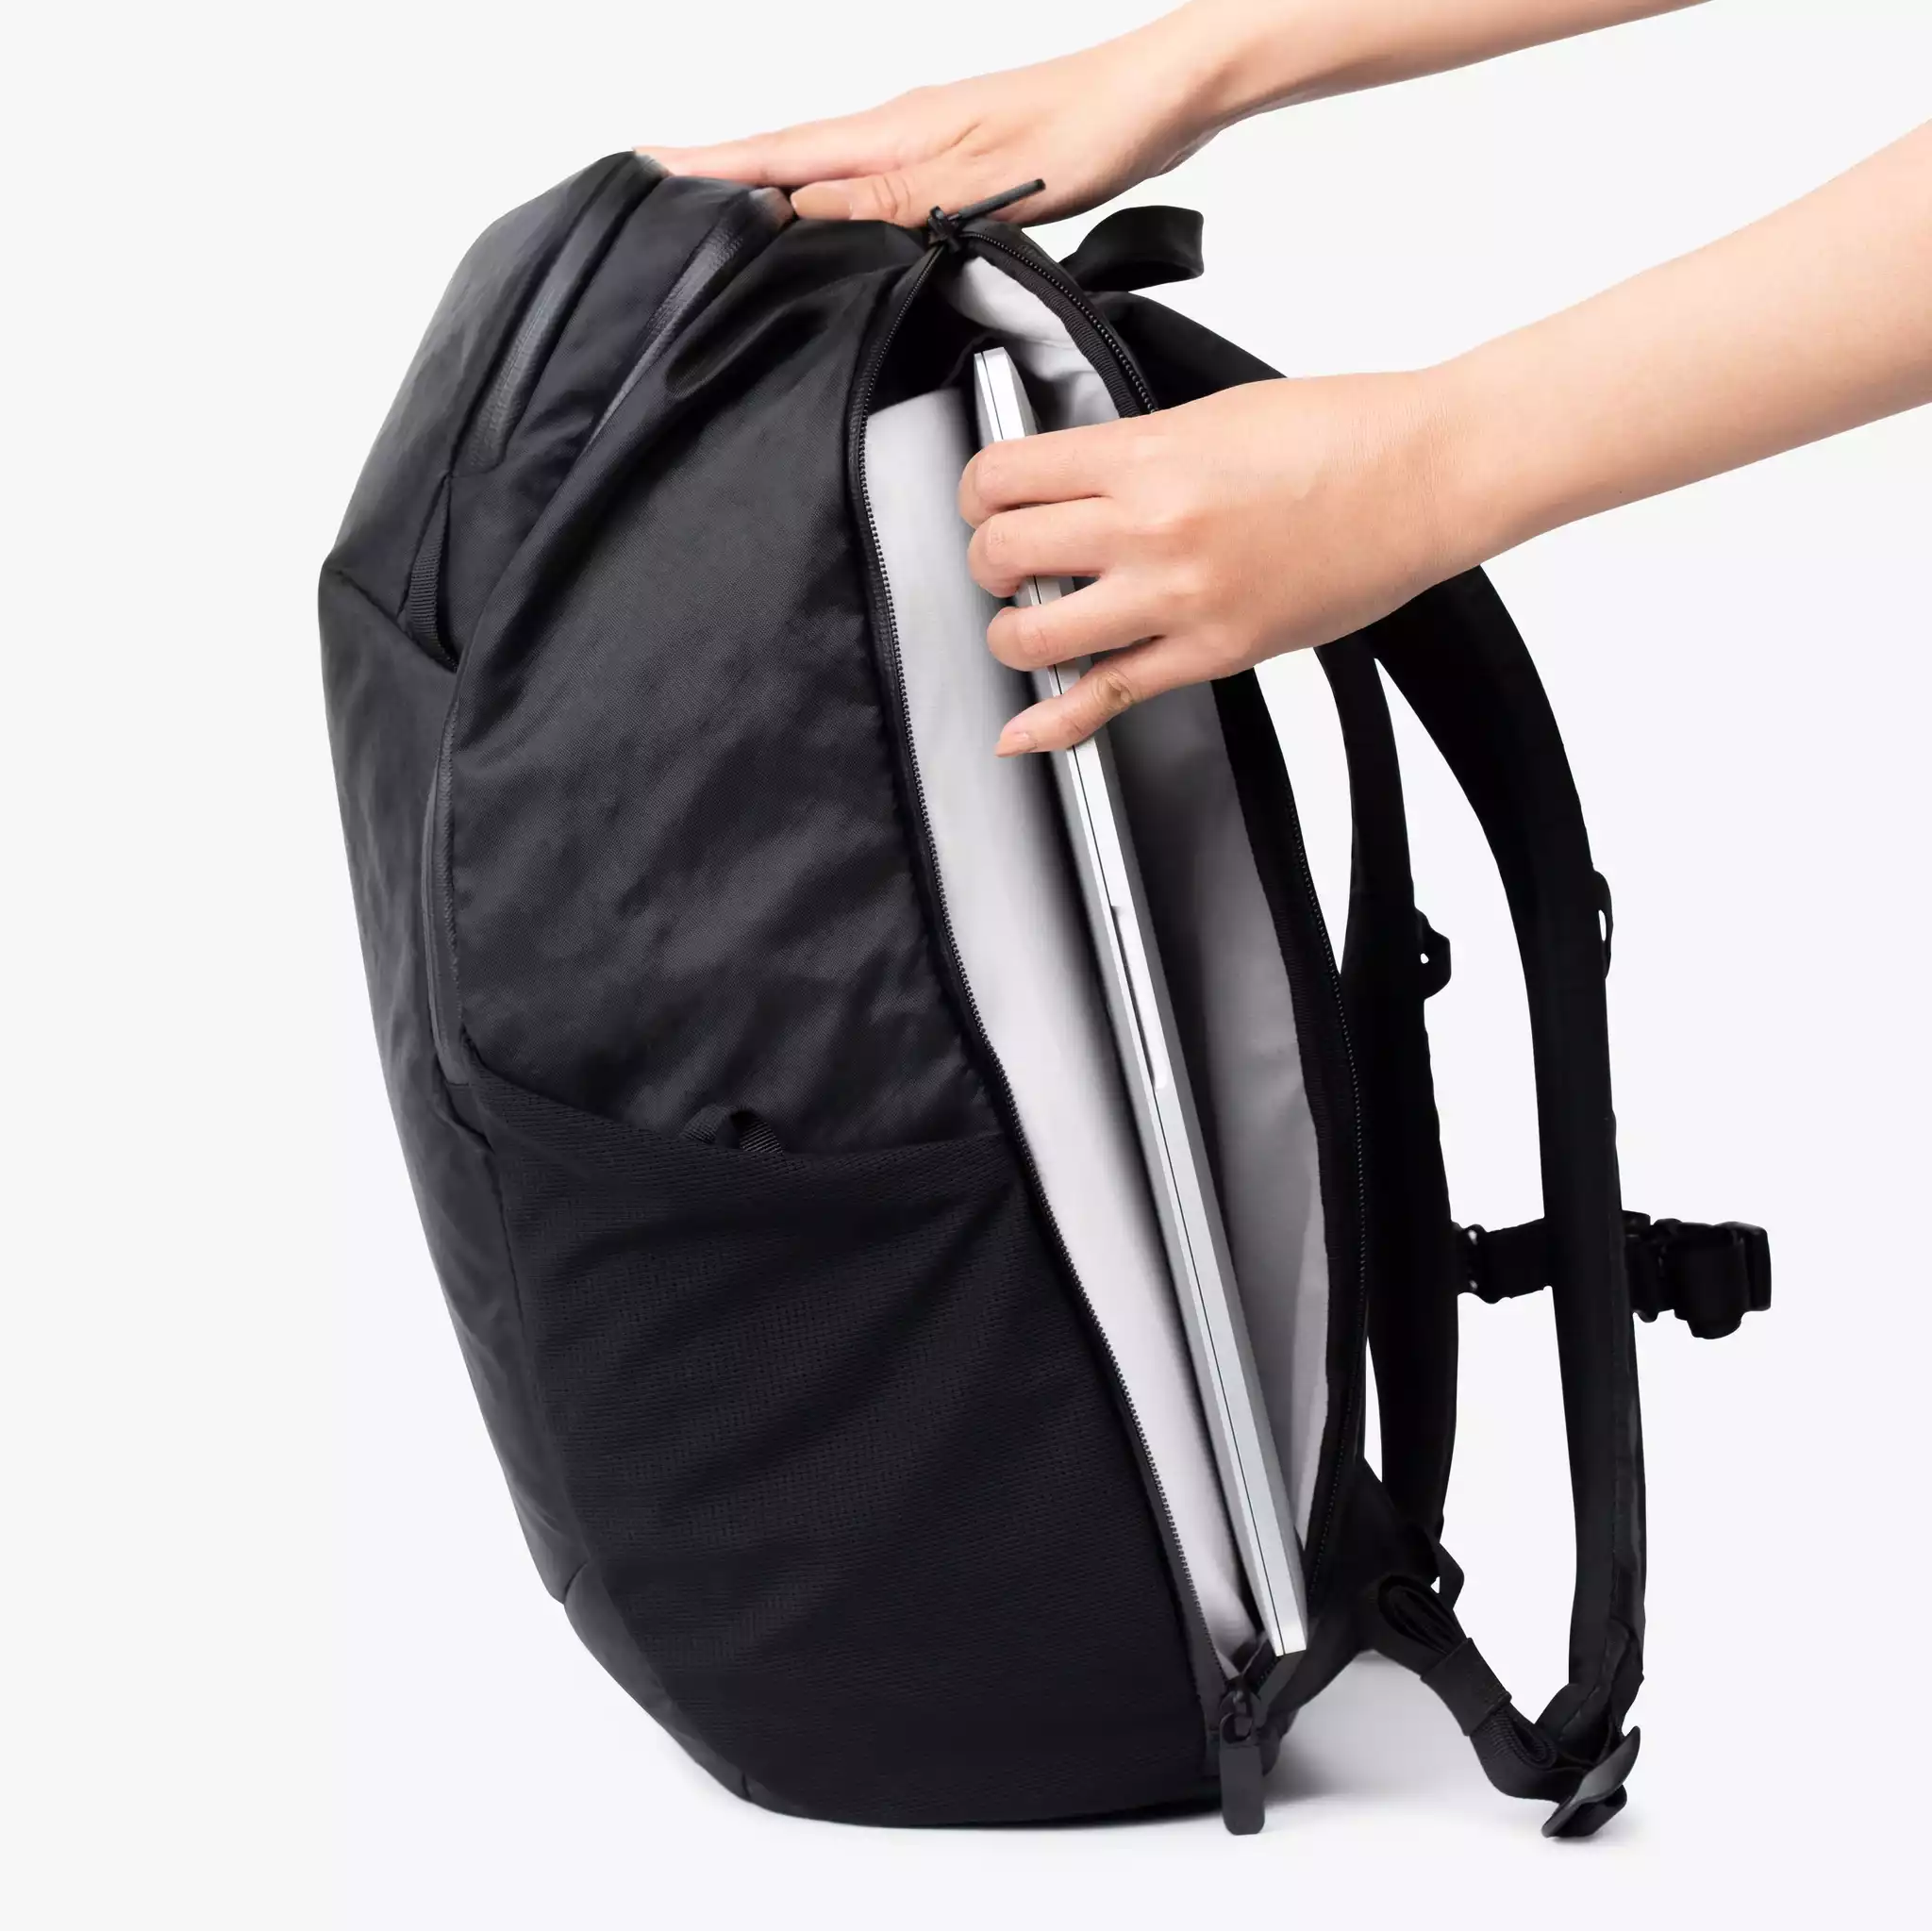
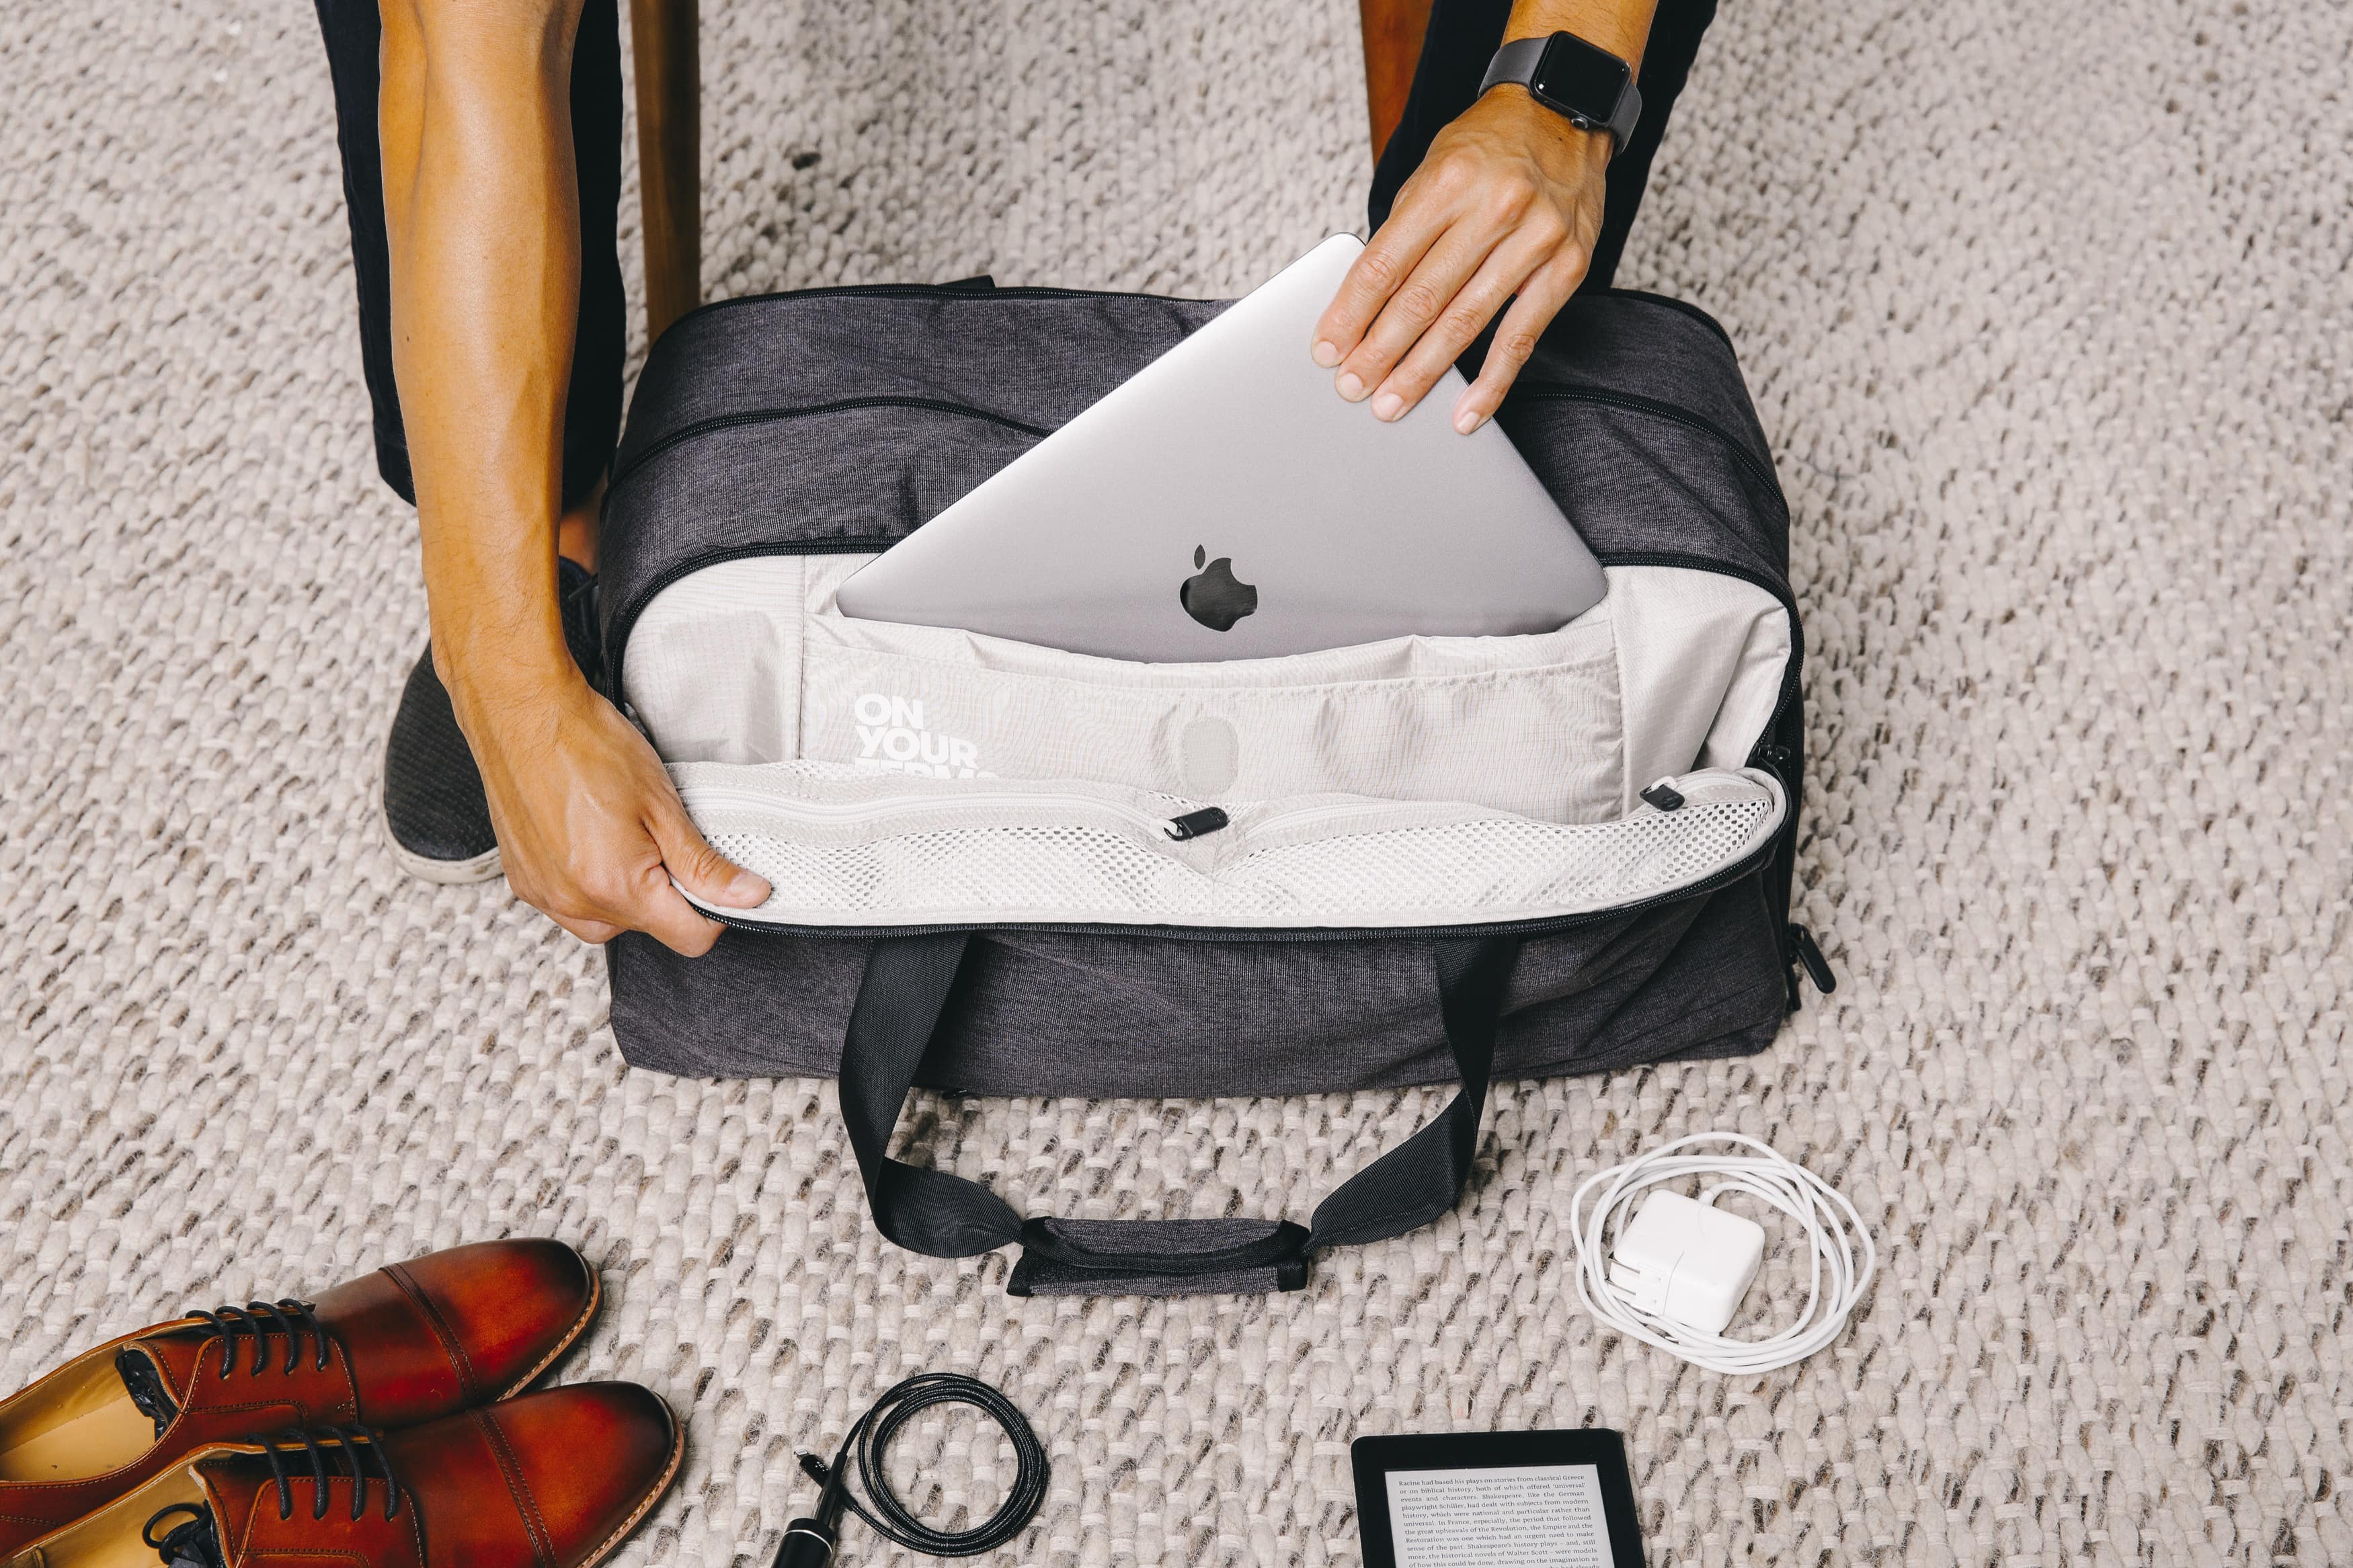
- Laptop on the outside for quick removal.
- Toiletries in a clear bag on the top or in an outside pocket of your bag.
- Passport, ID, phone, wallet, and boarding pass in a hip pocket, or top pocket. I usually move these around when I’m outside the airport to prevent theft.
I’d also recommend avoiding accessories and bobby pins. Wear slip-on shoes when possible. For this reason, I always prefer to travel in hiking sneakers, not hiking boots, since if I have to wear them while in transit they’re much easier to slip on and off.

Step 6: Test and Iterate
No matter how much advice I give or how specific it is, the perfect carry on packing list for you will be different than anyone else’s. The only way to truly nail the carry-on-only travel style is to test it out and take notes on what worked and what didn’t for you.
Was ditching the neck pillow a truly terrible idea? Do you think you could probably bring one less t-shirt? You’ll never know until you’ve tested it out, taken notes, and then put those notes to the test the next time you travel.


