Step Down to Carry On Part 2: Check a Smaller Bag
Published September 4, 2021

The Tortuga Promise
At Tortuga, our mission is to make travel easier. Our advice and recommendations are based on years of travel experience. We only recommend products that we use on our own travels.
Table of Contents
In the first article of the Step Down to Carry On series, we focused on getting max packers—travelers who usually pack two suitcases, a carry on, and a personal item—down to a moderate carry-on-and-a-checked-bag combo.
Of course, overpacking comes in all different shapes and sizes, so in this article, the second in our three-part series, I’ll be showing the moderate travel packer how to scale down to being a light checker, i.e. traveling with a small checked bag and a
If you’re a moderate packer, lightening up your load may not necessarily save you money on baggage fees. But you will be able to move around more freely, have extra room for souvenirs, and feel like you’ve packed light enough to take public transportation instead of taxis. Are you ready to pack even lighter? Keep reading.
Recap of Part One: Light Packing Tips to Build On
Before moving forward, I want to review a few of the core tips we covered in the first part of this series since I’ll be building on them in this article. These tips are general enough that they can help over packers at any level, but to avoid repeating myself, I’ll just quickly recap them here:
- Swap out your bags for something smaller
- Limit your “just in case” items
- Maximize the usefulness of every item you bring
- Pack two days in advance
- Organize your bags with packing cubes and vacuum seal bags
- Save time by checking in online
Let’s get to our next series of steps to transform your luggage from moderate to light.
Step 1: Get an Even Smaller Bag
I can’t emphasize this enough: a smaller bag means you’ll bring less stuff. No matter the size of your bag, every packer tends to feel compelled to fill it to the brim. Less space means less stuff.
If you’re paring down your luggage from a large bag and carry on, to a small bag and
Checked: Suitcase
To keep yourself from getting a bag that’s too large, search for a carry-on-sized roller bag even though you won’t be carrying it on. The Wirecutter has buyer’s guides to the best carry on and checked suitcases.
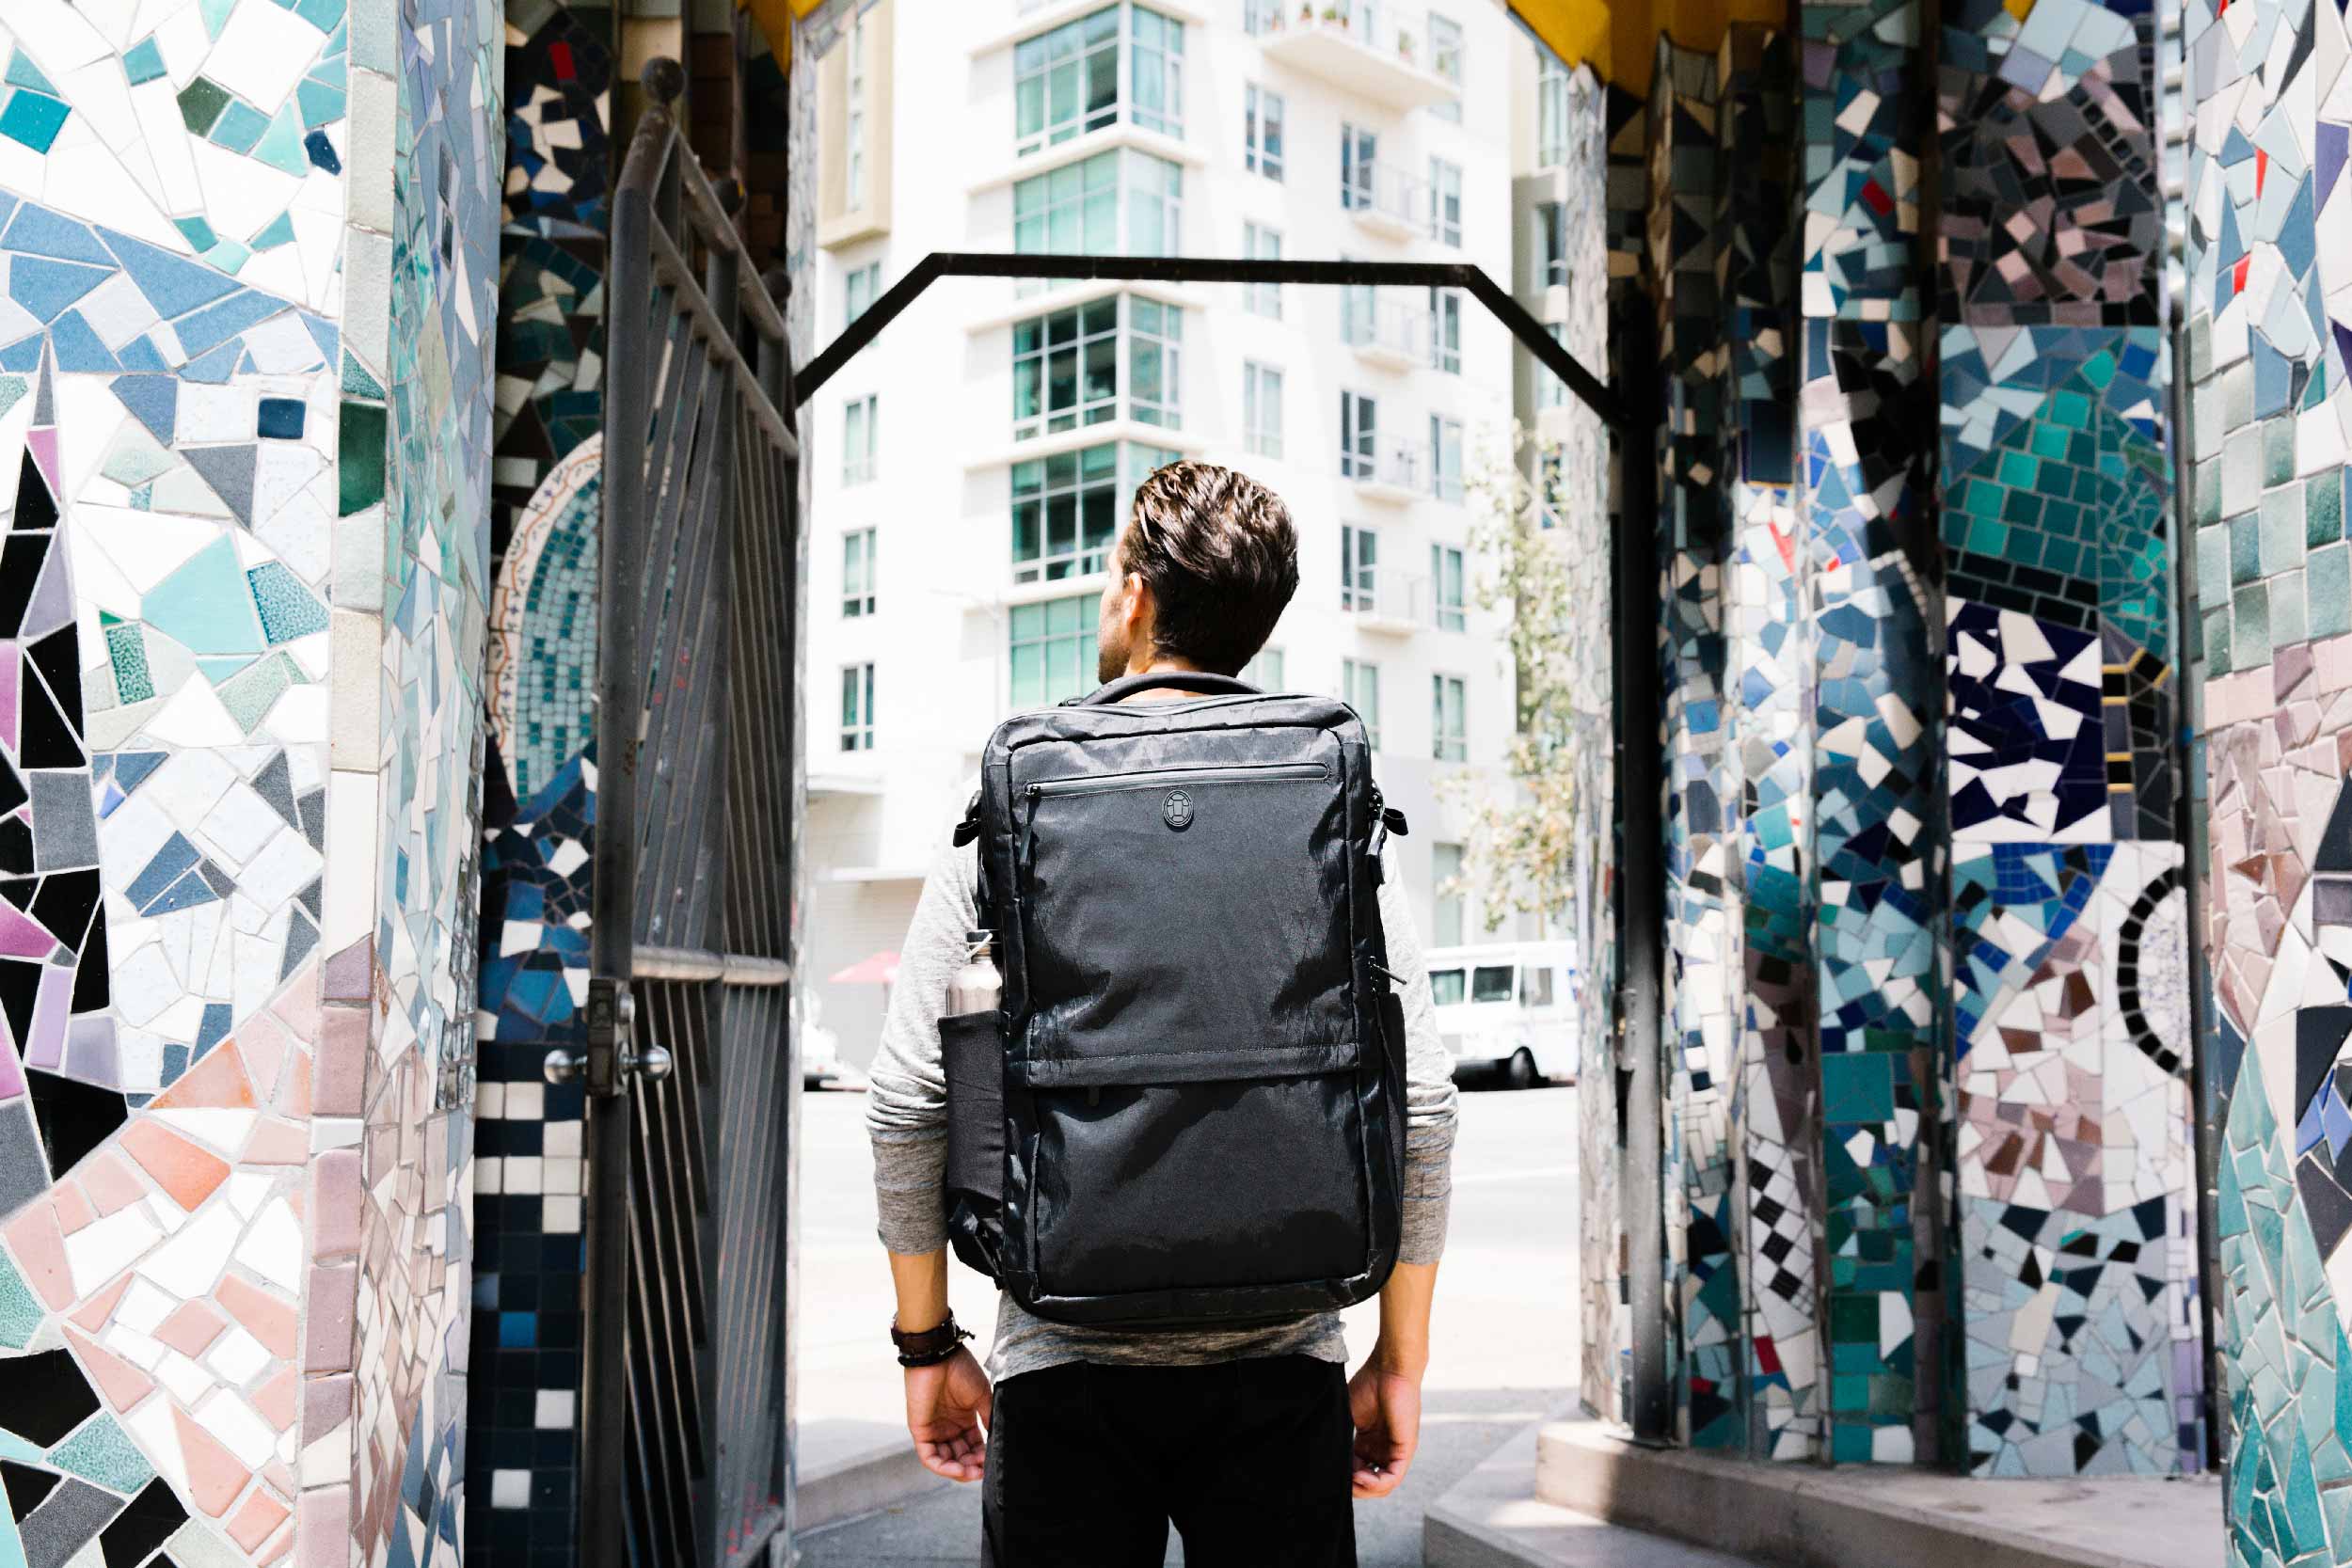
Carry On: Larger Backpack
For your
Step 2: Ditch the Personal Item
Challenge yourself to fit everything in just these two bags and ditch the personal item… sort of.
I still recommend taking a personal item but packing it away in your
A packable daypack, tote, or small purse works well for this.
If you’d rather not have your
Step 3: Use a Destination Packing List
Sometimes we overpack for a trip because we’re not entirely sure what we’ll need once we’re there, especially when we’re visiting a new country. To kick out even more of those “just in case items” you’ll never use, and to make sure you don’t forget something you’ll actually need, focus your packing with a destination list written by someone who’s traveled there before.
Fortunately for you, we’ve got a great list of packing lists, according to destination and type. If you can’t find a packing list for your destination, let us know. We’ll write it.
I don’t always pack exactly according to a list. I use packing lists to adjust the base, carry on packing list I use for every trip. I’ll also take a look at Travel Fashion Girl’s packing lists to get a feel for style in different places since I always hate feeling like I’m the only weirdo wearing a tank top.
Step 4: Pack for Fewer Days Than You’ll be Traveling
Once you know exactly what you need to pack for your trip, reduce it by two days. I didn’t include this tip in our first part of the series since it’s a light packer trick that takes a little warming up to. But seriously, it works.
Rather than pack seven days of clothing for a week-long trip to New York, pack for five days.
Going away for two or three days? Don’t pack three pairs of pants; Wear the same pair of jeans twice and compromise with multiple tops.
Even on extended trips, never pack for more than a week. You’ll probably have to do laundry on a longer trip like that anyway. I set a strict seven pairs of underwear rule for myself. If you’re wondering about the laundry situation, I hand wash them in the shower each morning.
If you’ve already followed our other light packing tips on choosing clothes that are easy to mix and match, focusing on neutral colors, and dressing up outfits with accessories, this little trick is easy to incorporate.
Pro tip: Include what you’re wearing in transit in your total count of clothes.
Step 5: Seriously Organize Your Bag
In the last part of the series, we took one step towards better organization: using packing cubes and compressing bags to help sort your items by type and identify any redundancy in your bag.
Here are a couple of extra organizational tips to get your bag down a size:
- Reduce your toiletry bag by using travel-sized toiletries only
- Pack outside your bag then put items in their respective spots
- Put small items in shoes if you’re bringing a pair that takes up too much space
- Look at it like a Tetris game and don’t leave empty gaps between items
- Distribute the weight by packing light stuff on the bottom, heavy in the middle, and medium weight on top
Light packers have a few tricks up their sleeves, but one of the simplest tricks is to simply have a list and be well organized in the way you pack.
Going from frequent checker to carry-on-only takes practice. You’re better off taking small steps towards this goal rather than one big leap.
Once you feel confident, you can take the final step: going carry-on-only.
Related Articles


Jessie is a writer, editor, and content marketer who covers travel gear and adventure travel. She’s called many places home and traveled to 45+ countries.
She now lives in San Francisco with her husband where she splits her time between traveling, adventuring outdoors, and cooking (okay, eating).